Providing Liquidity
Venture into liquidity provision on Astroport, the leading DEX on Sei optimized for both XYK and stableswap pools.
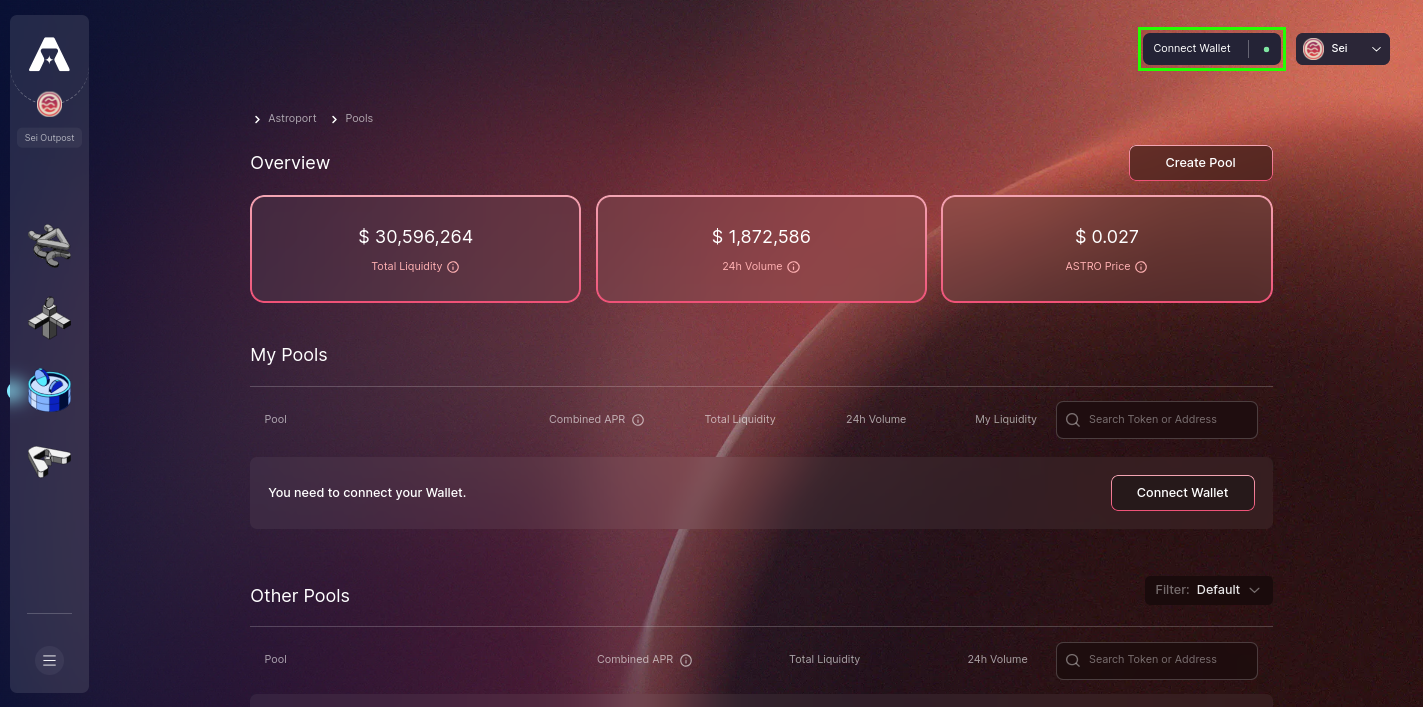
Step 1: Access Astroport and Link Your Wallet
Begin at sei.astroport.fi/pools. Press "Connect Wallet" to continue.
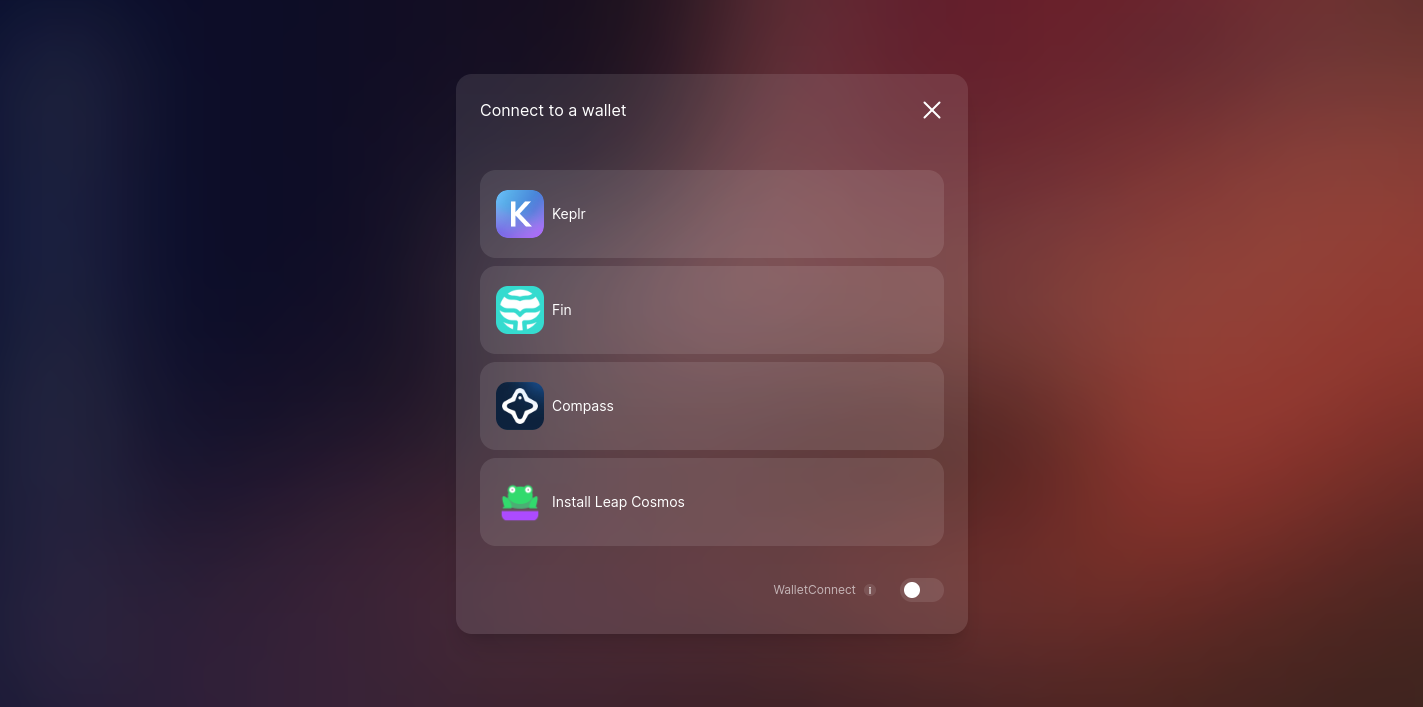
A variety of wallet choices will appear for your selection.
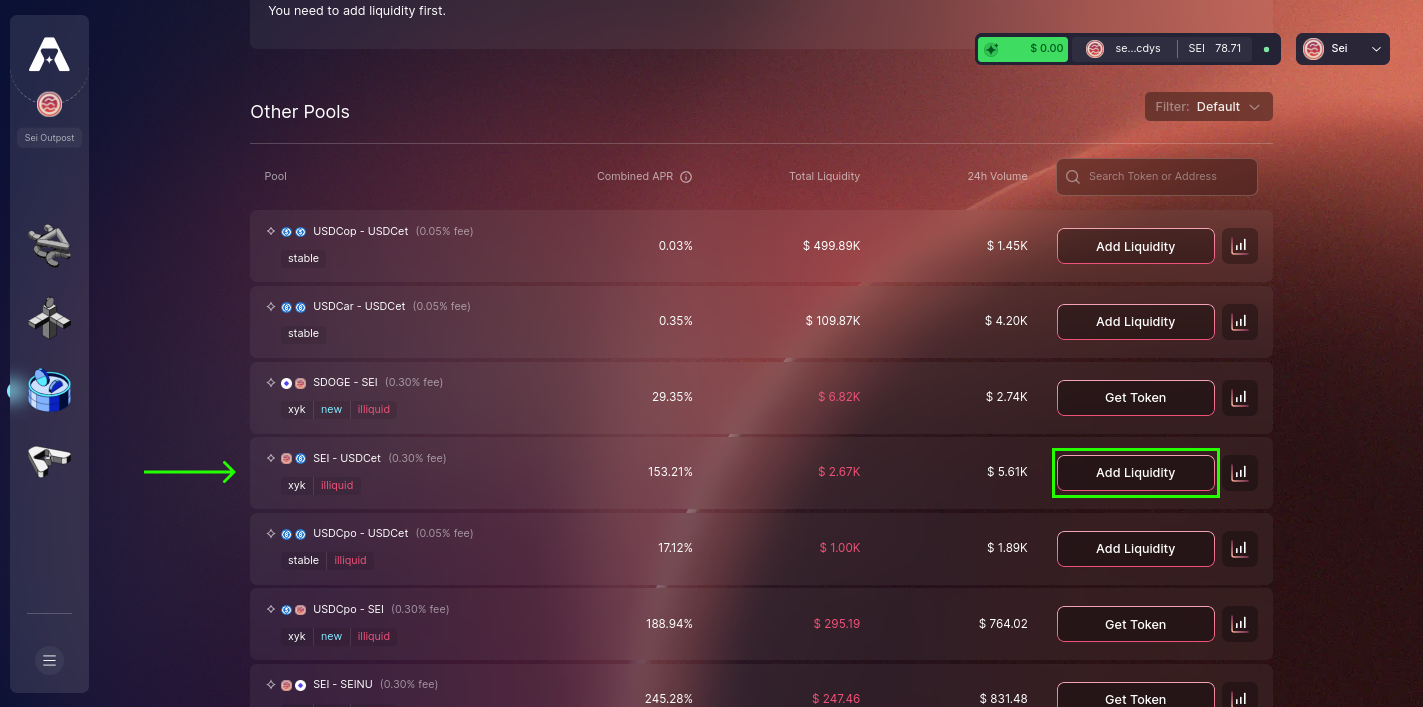
Step 2: Pool Selection
Browse through the available pools and select the one you wish to contribute liquidity to. Select "Add Liquidity" to continue.
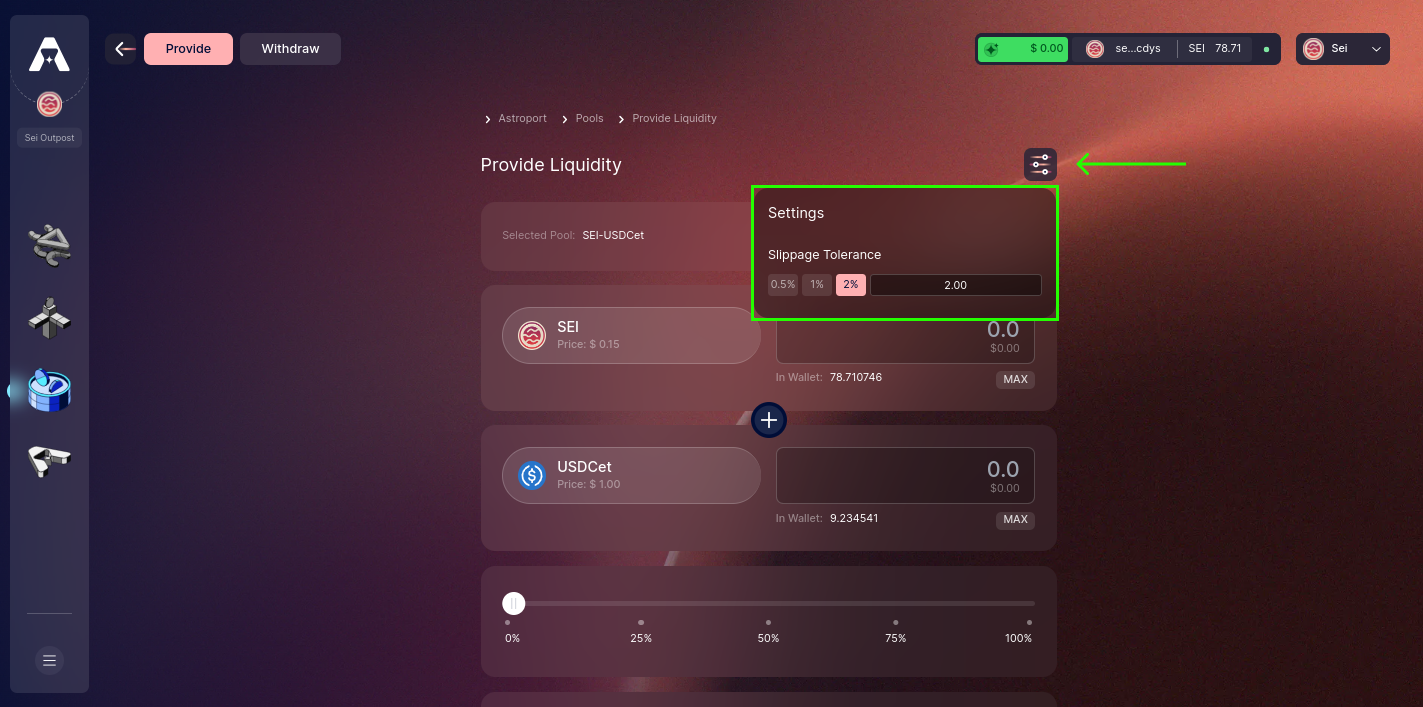
Step 3: Set Your Slippage Tolerance
Decide on the maximum acceptable price variation for your liquidity provision by tuning the slippage parameters.
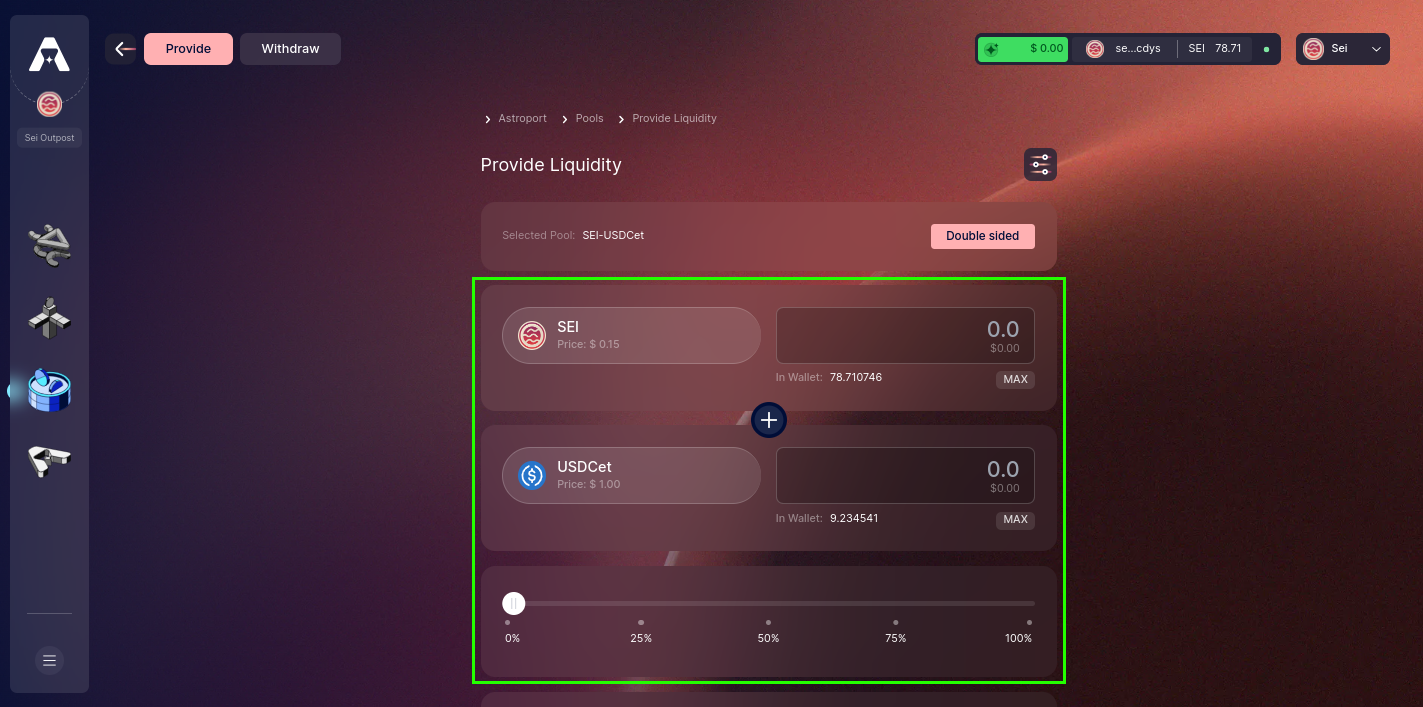
Step 4: Select an Amount to Provide
Choose the quantity of liquidity you're willing to provide. Utilize the drag bar for easy adjustments.
Step 5: Initiate Liquidity Provision
Select "Add Liquidity" to progress.
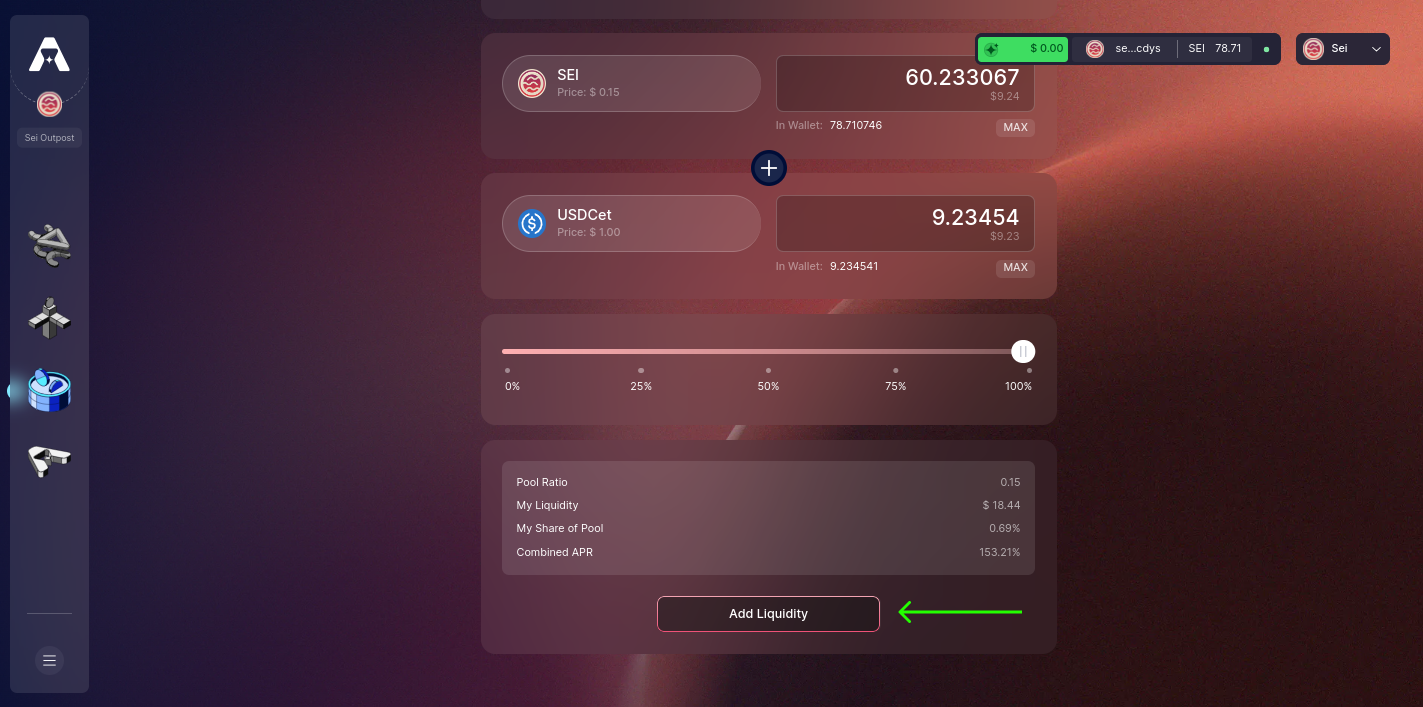
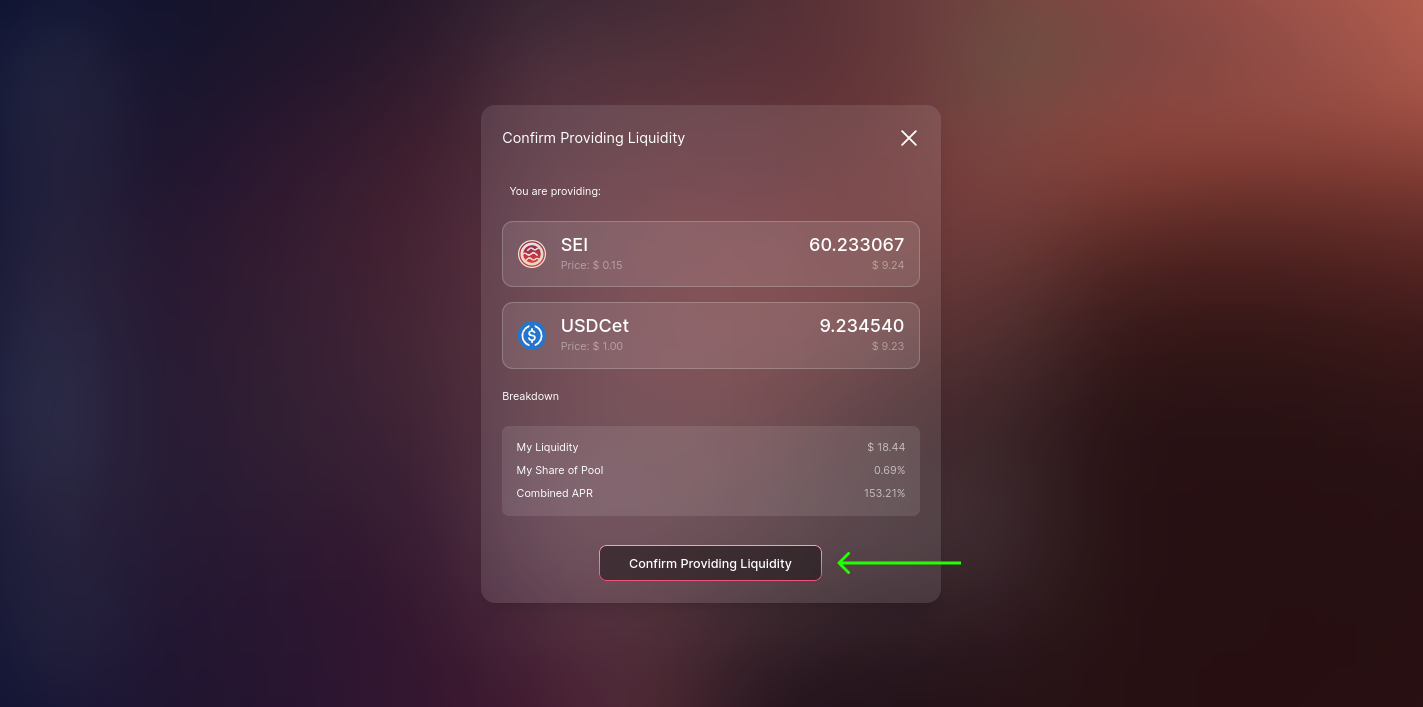
Step 6: Review and Confirm Liquidity Addition
Once content with your transaction details, click on "Confirm Providing Liquidity" to continue.
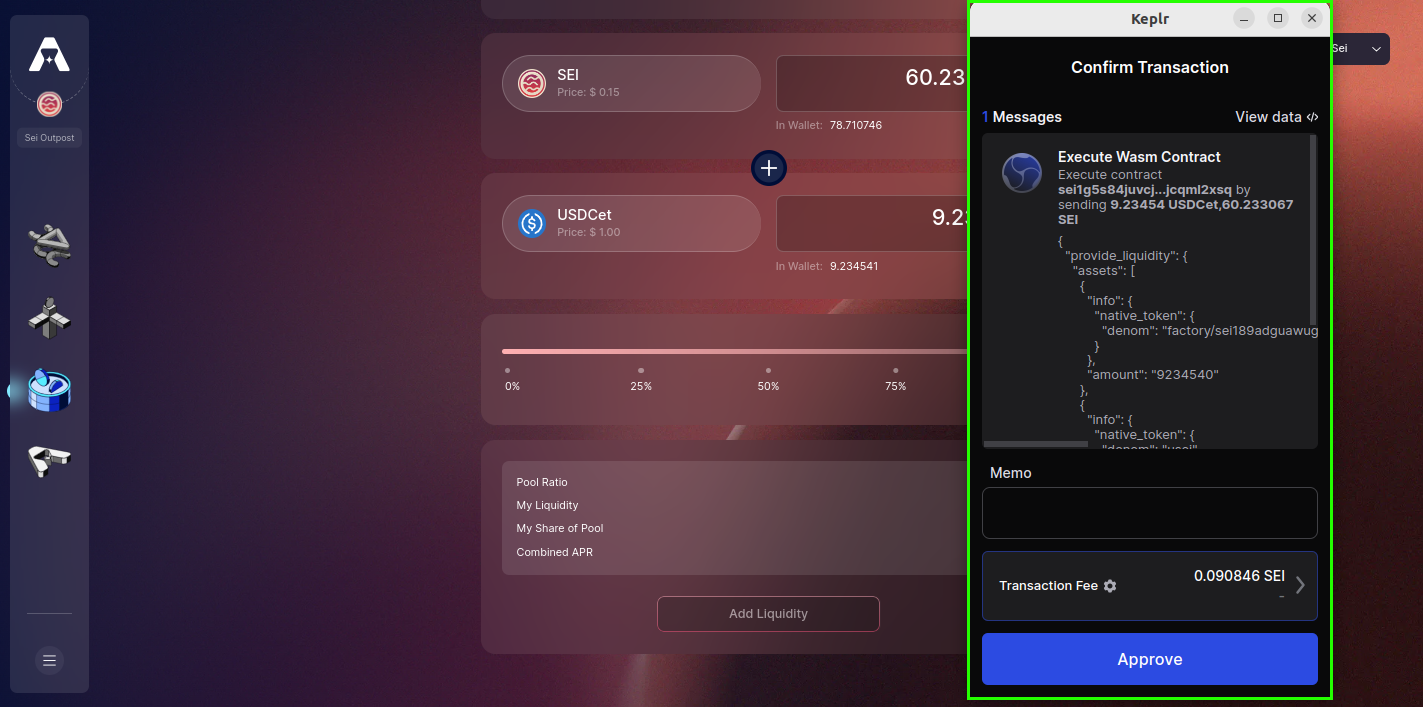
Step 7: Sign and Confirm Your Transaction
At this step, sign and confirm the transaction, solidifying your deposit to the selected pool.
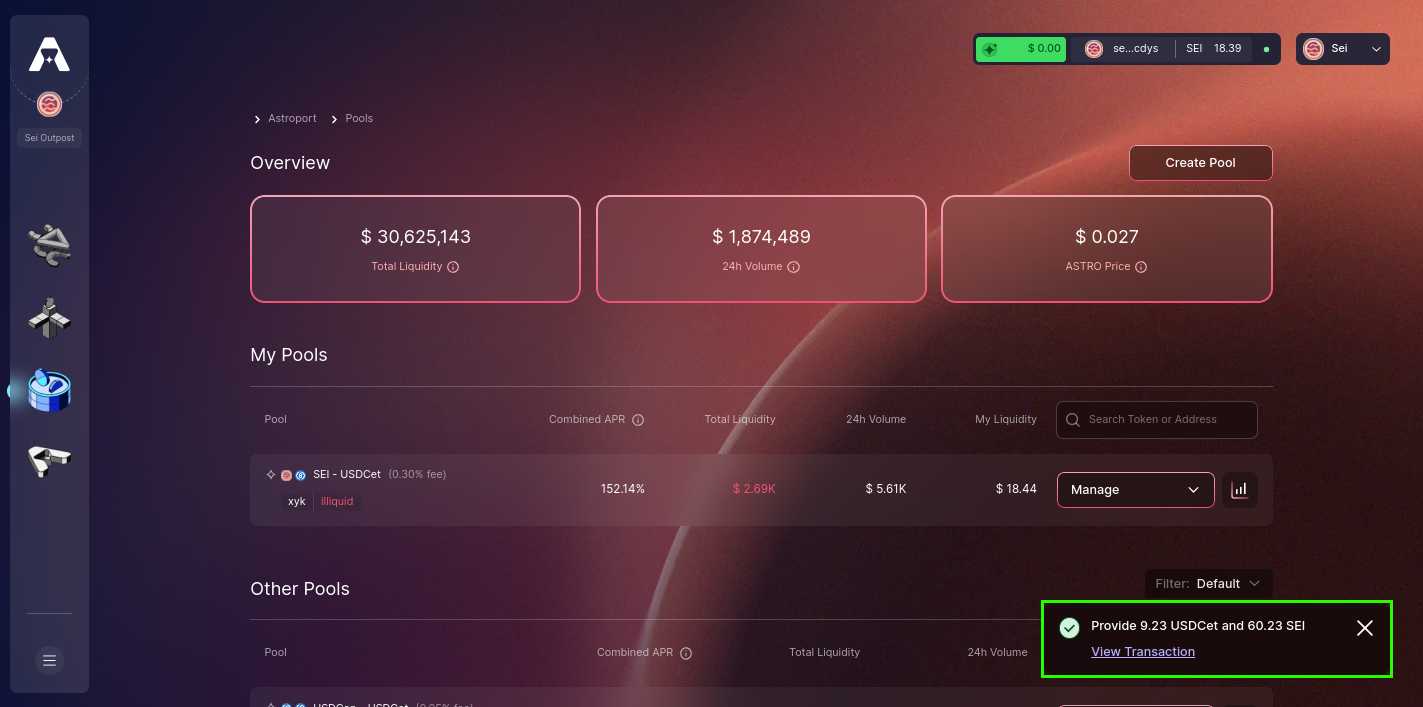
Step 8: Liquidity Provision Accomplished!
A confirmation notification will pop up on the page, verifying the successful provision of your liquidity.